A practical walkthrough for making a professional e-commerce website in 2026 without hiring a developer — from picking a website maker to taking your first order.
You do not need to hire a developer to put a real online store on the internet in 2026. A modern e-commerce website maker handles hosting, security, checkout, and mobile layout for you, so the work that is left is the work only you can do: choosing products, writing pages, and setting prices. This guide walks through the whole process, in order, from a blank account to your first order. If you would rather read the store-first version of this, see how to start an online business in Pakistan.
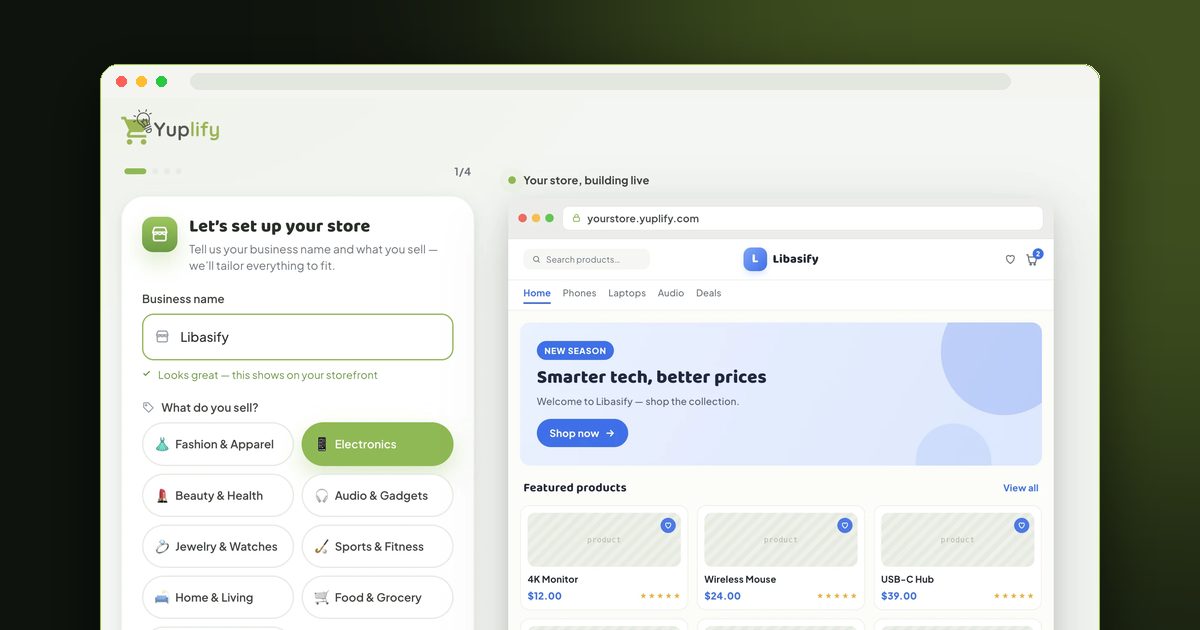
Step 1: Get Clear on What You're Selling
Before you touch a builder, write down three things: what you sell, who buys it, and why they buy it from you instead of a marketplace. This is not busywork — every later decision (theme, copy, categories, pricing) flows from these answers. If you are still deciding, look for a niche with repeat-purchase potential and a customer you understand well.
Step 2: Choose an E-Commerce Website Maker
All no-code e-commerce website creators do the same core job. They differ on price, how much design control you get, transaction fees, and whether a mobile app is included. A few things to compare:
Yuplify, for example, has a free plan with one store, up to 30 products, a free subdomain, and SSL, and it does not add transaction fees on top of your payment gateway.
Step 3: Claim Your Domain Name
A custom domain (yourbrand.com) builds trust and is worth the small annual cost. Keep it short, easy to spell, and free of hyphens. You can start on a free subdomain to get moving and connect a custom domain later — just do it before you spend money on ads, because changing domains after launch costs you SEO.
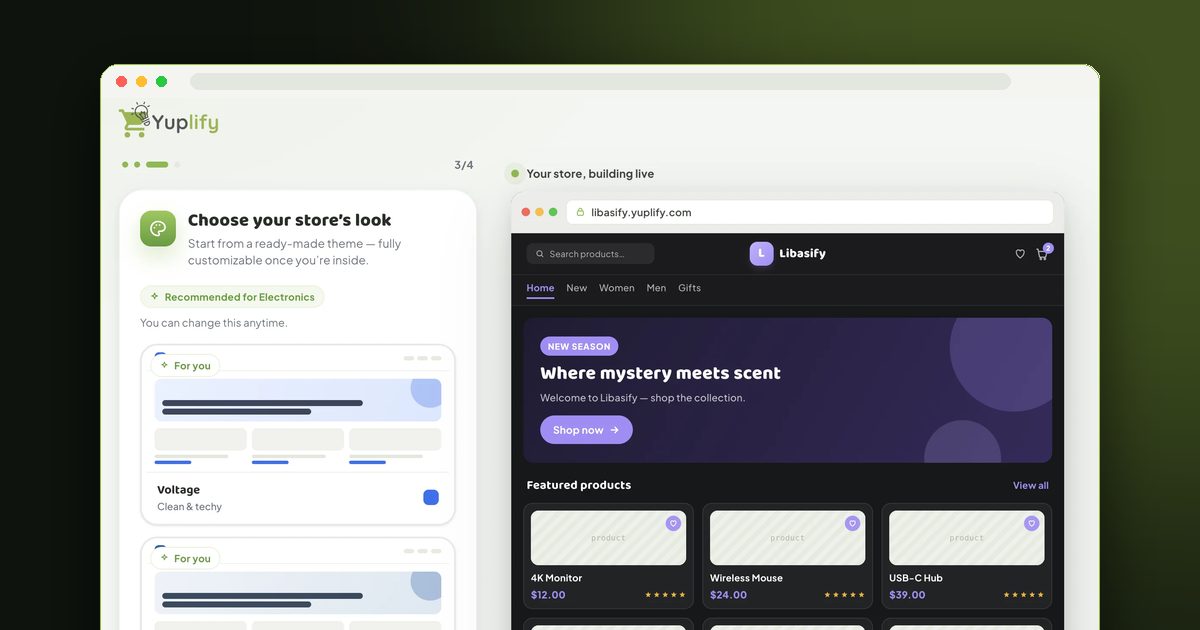
Step 4: Pick and Customize a Theme
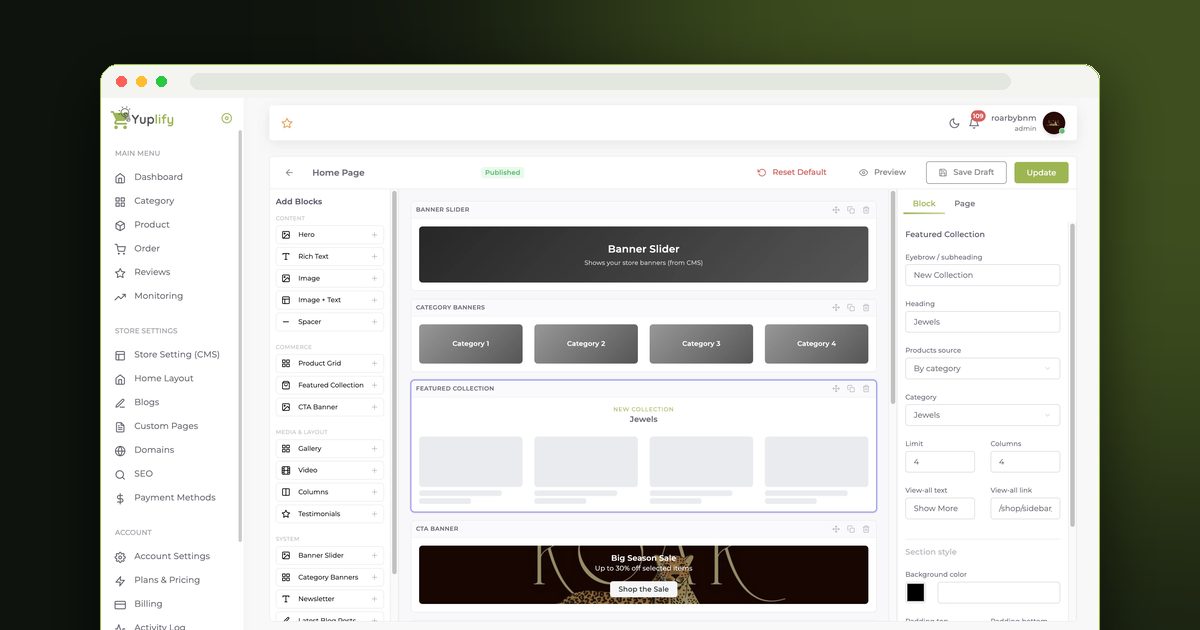
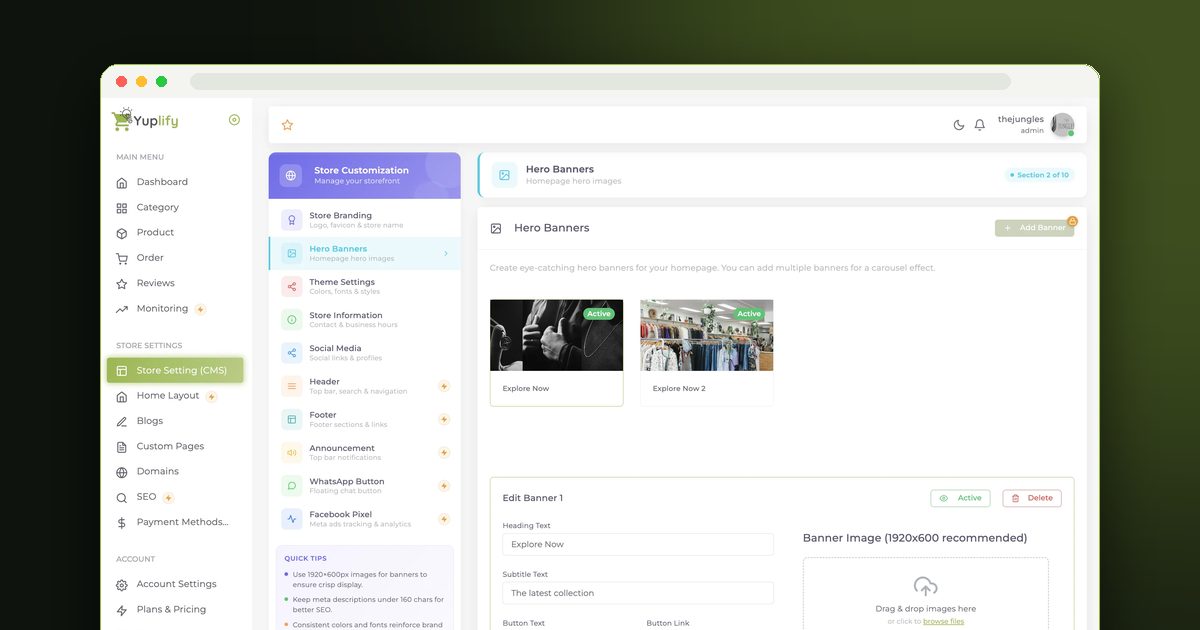
Choose a theme that fits your catalog size and brand. Resist the urge to redesign everything on day one. Set your logo, colors, and fonts, make sure the header and footer have the right links, and confirm the product page template shows what shoppers need: price, variants, shipping information, and a clear add-to-cart button. Check every change on a phone — most e-commerce traffic is mobile.
Step 5: Add Your Products
For each product you need a clear title, three to seven photos on a plain background, a description that covers benefits and specs, price, inventory count, and a category. Write for the customer, not the search engine, but include the words people would actually search. If you have a large catalog, most website makers let you bulk-import from a spreadsheet. For help with the writing, see product descriptions that sell.
Step 6: Set Up Payments
Connect a payment gateway so you can actually get paid. The right choice depends on your country and your customers — card processing, wallets, cash on delivery, or local methods. Compare the options in payment gateway comparison: Stripe vs PayPal vs others. Do a real test transaction and a refund before you launch.
Step 7: Configure Shipping and Taxes
Decide your shipping model: flat rate, free over a threshold, or calculated by weight and zone. Free shipping above a set order value is one of the most reliable ways to lift average order size. Set your tax rules for the regions you sell to. Write a plain-language shipping and returns page — unclear policies kill conversions.
Step 8: Write Your Core Pages
Every store needs a handful of non-product pages: About, Contact, Shipping & Returns, Privacy Policy, and Terms. The About page does more sales work than owners expect — it is where a hesitant buyer decides whether you are a real business. Keep it human and specific.
Step 9: Test Everything Before Launch
Run through the store as a customer on both desktop and mobile: search for a product, add it to the cart, apply a coupon, check out, and receive the confirmation email. Click every navigation link. Check page load speed. Fix broken images and typos. A checklist of what new stores get wrong is in 10 e-commerce mistakes to avoid.
Step 10: Launch and Drive Your First Traffic
Publishing the store is not the finish line — it is the start. Tell your existing network first, then pick one or two channels (short-form video, a niche community, email, or paid ads) and go deep rather than spreading thin. For a full playbook, read how to get your first 100 sales.
How Long Does This Take?
With a no-code website maker and products ready, a basic store can be live in a day. A polished store with 50 well-written product pages, all policies, and a tested checkout usually takes a focused week. The build is not the slow part — sourcing products and writing good copy is.
Common Mistakes to Avoid
More E-Commerce Website Builder Guides
Each guide in this series answers one question. Pick the one that matches where you are:
Final Thoughts
Making an e-commerce website without code is now a matter of following the steps above in order. The tools are not the bottleneck. Your clarity about what you sell, your product pages, and your first traffic channel are what determine whether the store works. Pick a website maker with a real free plan, build the whole thing before you pay, and launch before it feels ready. You can see how Yuplify handles this on the eCommerce website builder page.

Abu Bakar Memon
Founder & CEO
Abu Bakar Memon founded Yuplify in Karachi in 2023 — the free eCommerce website builder for small businesses in Pakistan. He writes about starting and growing an online store — pricing, cash on delivery, couriers and getting the first orders — from building the platform Pakistani sellers use every day.
Ready to Start Your E-Commerce Journey?
Create your online store in minutes with Yuplify. No coding required.
Get Started Free